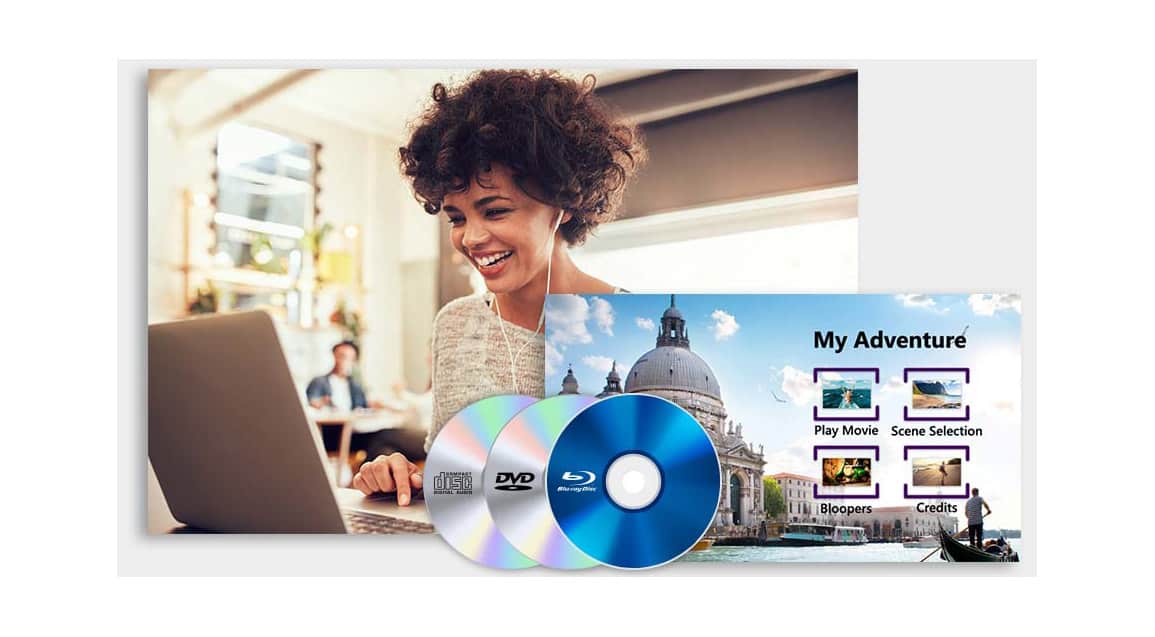
Why add a menu to your discs?
You can create a full home movie experience with a customized menu to give your disc projects personality and polish! Simply choose from preset templates and customize with your own background images and music to add a personal touch to wedding video discs, vacation montages, graduation recordings, and more.
Adding a menu to your discs gives you the ability to navigate through your videos more effectively, to skip to certain parts of your video, to choose select episodes or specific videos to play, and will complete your home movie experience.
What types of templates can I choose from?
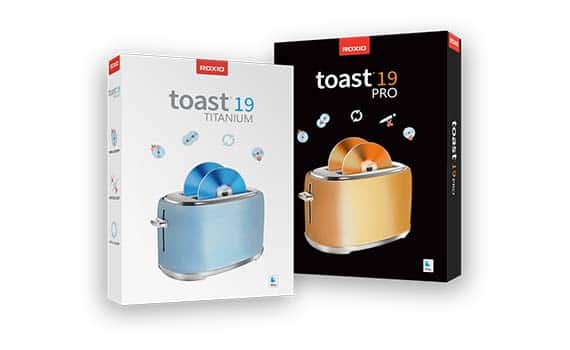
Toast includes a variety of themed templates fit for any occasion. Create custom disc menus for birthday slideshows, corporate videos, vacation video montages and more by selecting from the list of included themed templates, following the steps outlined below. Toast 19 Titanium includes access to 20 templates. Unlock full creativity with Toast 19 Pro and enjoy more than 100 included templates!
Can I customize the templates?
You can easily customize your selected menu template by adding music, changing the text in your menu or chapter titles, or even adding your own background image to replace the default. Depending on your selected disc type, you even can choose to add an intro video to play before the menu appears on screen!
How do I add a custom menu to a disc on macOS Big Sur?
Burning your media files to disc with a custom menu is the perfect way to memorialize special events and family vacations, preserve old home videos, and create full home movie experiences for your media. Custom menus and chapters make it easy to share and replay your moments for friends and family. Roxio Toast makes it simple to create your own custom menus!
-
Install Roxio Toast
Toast 19 is available for purchase from the Roxio website. Toast includes all the tools you need to create immersive movie menus.
![Install Roxio Toast]()
-
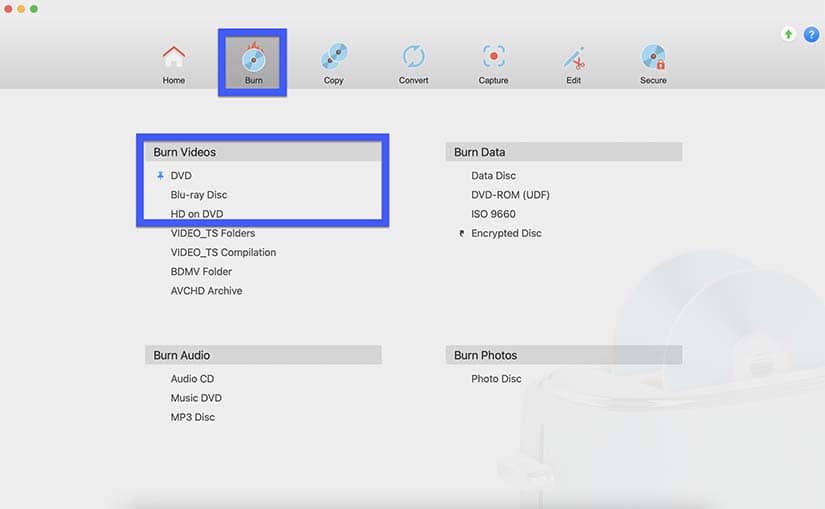
Select your workflow
Open Toast 19 and click the ‘Burn’ button in the top menu to open the list of disc burning projects you can create.
Select your desired output from the list to launch that workflow. Disc menu options are available for video discs, so you should be choosing a DVD option.
![Select your workflow]()
-
Insert your disc (optional)
The burning workflows show a capacity bar that will indicate the remaining space available on your disc. Inserting your disc now will allow you to monitor the space on your disc as you add files in the next step.
If you plan to save your disc project digitally or plan to burn your files to disc another day, you can skip this step.
-
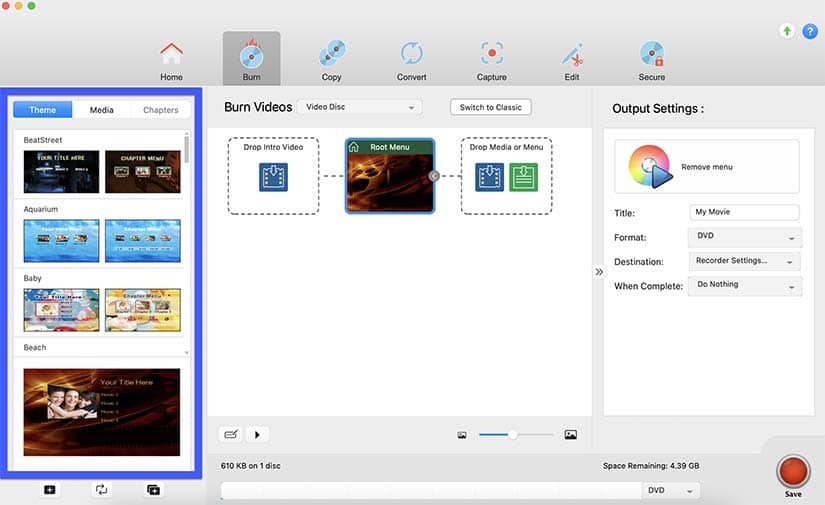
Add menu
Click the ‘Add menu’ button in the right side panel to add a menu to your disc. This will open a new set of controls you can use to create custom chapters, submenus, and more!
![Add menu]()
-
Choose a template
Pick a default menu template to work from. You can apply the same theme to the entire disc at once, or apply different themes to each level of your menu using the controls in the left panel.
![Choose a template]()
-
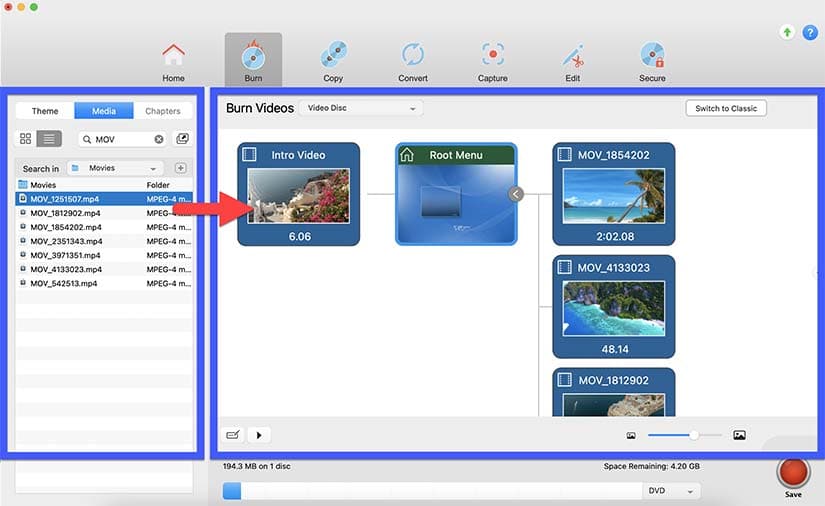
Drag and drop your files
The default tree view shows the structure of your disc menu. Simply use the media finder in the left panel to locate your files, and drag and drop your image or video to add it to that spot in your menu.
Note: The capacity bar in the bottom of the window indicated the space remaining on your disc.
![Drag and drop your files]()
-
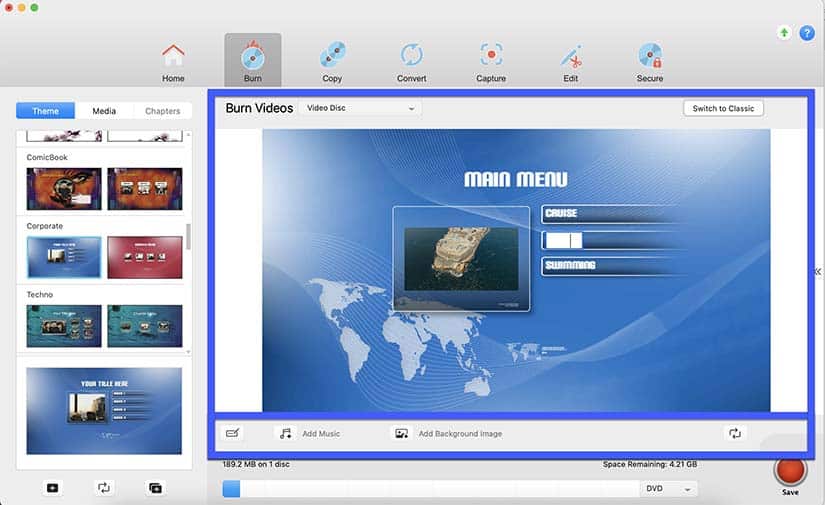
Customize menu
With your files added, you can click the edit button in the bottom left of the project panel to preview your menu and make adjustments to add personality. Adjust the position of images and text using the editing button in the bottom left.
![Customize menu]()
-
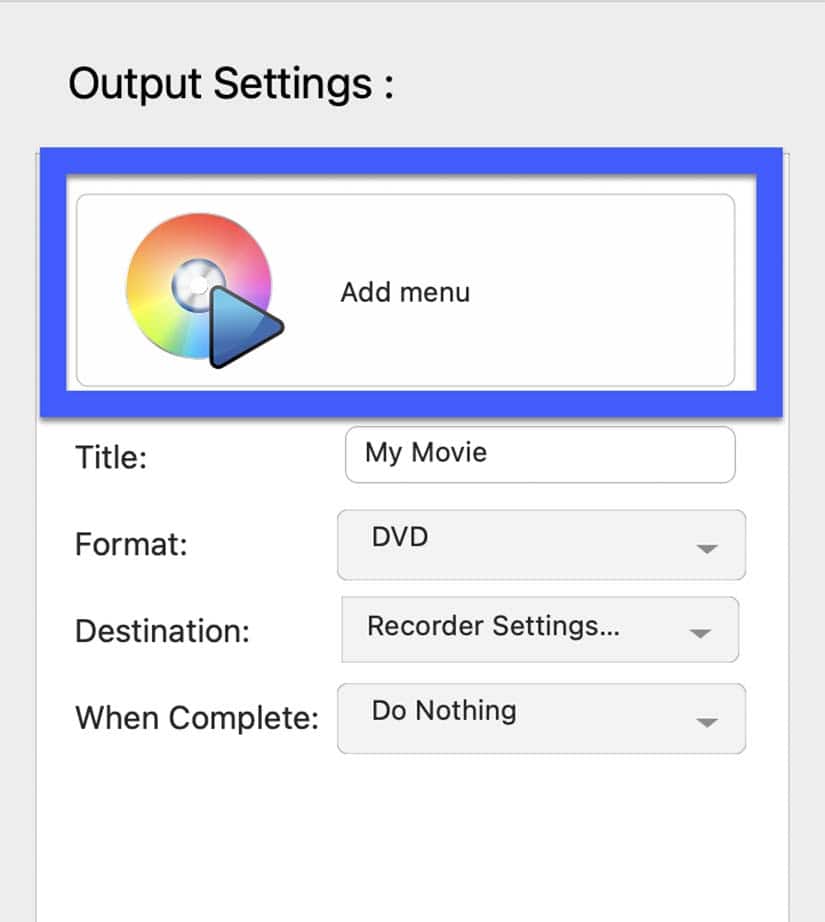
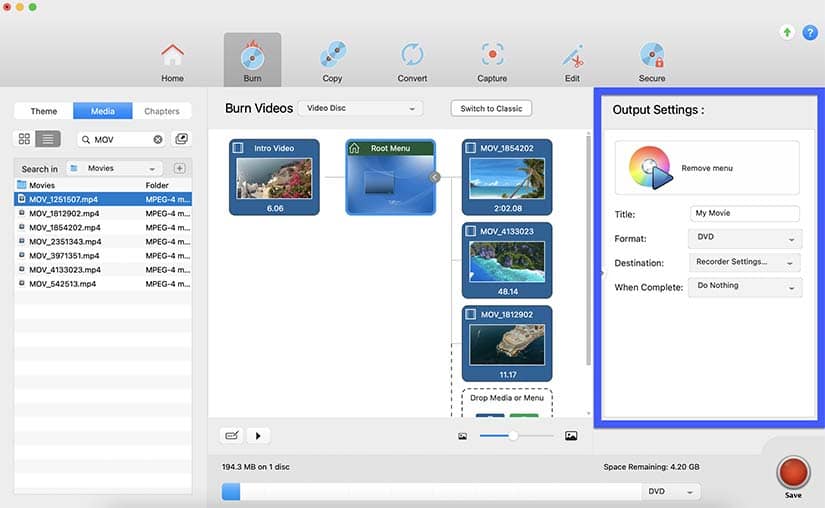
Confirm export settings
Check the settings in the right side panel to confirm you’re ready for export.
If you are burning a large project or planning to step away from your computer as your disc is burned, Toast offers convenient options so you can preselect what it should do next – return to the menu, start a new disc, or close the application.
![Confirm export settings]()
-
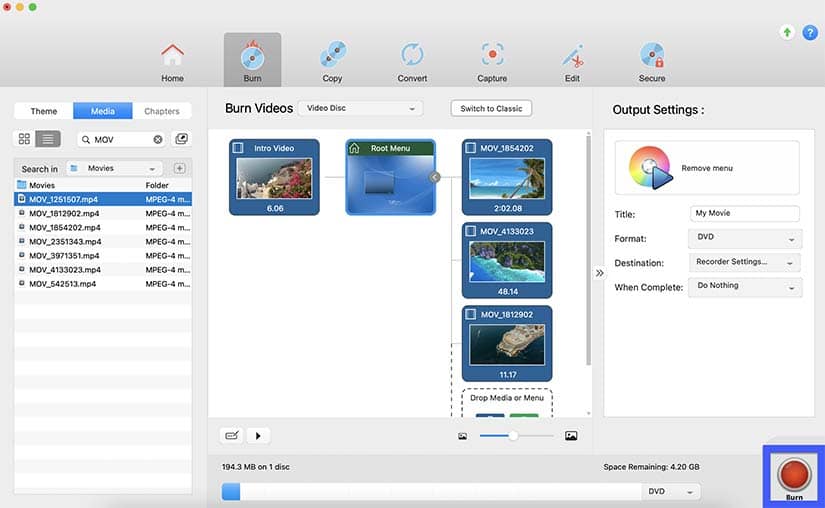
Burn your disc
When you’re happy with your menu, chapters and export settings, click the big red Burn button in the corner to begin burning your disc.
You can always save your disc project digitally and burn to disc another day.
![Burn your disc]()
For more information on specific workflows, please refer to the user guide.
Which macOS are supported?
Toast is fully compatible with the latest macOS. Toast 19 has been tested and optimized for macOS Big Sur. Toast 19 supports macOS Big Sur 11.0, macOS Catalina 10.15, and macOS Mojave 10.14 (64-bit).
What else can you do with Toast?
Toast can do much more than just burn discs with customized chapters and menus on macOS Big Sur. Enjoy a variety of easy-to-use tools to capture screen recordings, edit photos and videos, enhance audio, even create digital artwork with AI-powered tools! Explore the wide set of features that have made Toast a leading disc and digital media toolkit for 25+ years.